Sourdough, while not particularly complicated can require immense patience and sacrifice. Sacrifice to the gods of baking is plausible because in humid Singapore, my quest for a workable sourdough has driven me to wonder if I needed to resort to that.
The true sacrifice required is your personal time; many precious weekends to be precise. Forgoing weekend plans, blowing off friends and social engagements to confine yourself to the kitchen, obsessing as much as an alchemist is a necessary first step.
Once you’ve transformed your base ingredients into sourdough ‘gold’ (also known as the starter, the magic base), the rest of the journey is less ardous. No more will you be rising before the first birds have stirred, no more feeding starter or making barm just as the birds are shaking off their dreamy states and gliding off across the first rays of sunlight.
Learning how to make sourdough, I discovered, was the perfect bread for a temporary hermitage (or as we find ourselves in lockdowns across the globe , the perfect lockdown busy work) each step along the process requires one to four hours, and while it is possible to retard the process at certain stages, you need about six to twelve hours in total at least.
Allow me to quote the well-known Game of Thrones meme, “one does not simply”… make sourdough. The most crucial first step is to create a seed culture – you want to produce a wild yeast starter that will be the foundation of your barm and sourdough starter. The commitment to this process is not unlike the type of preparation you undergo prior to a weekend spiritual retreat – a mental , emotional and physical deep dive with some isolation.
Sourdough proficiency comes at a price. As dramatic as it sounds, it’s like being in a cloister, where long periods of your free time are spent obsessing on fine tuning the process, crying over failed loaves or starters and beating sticky dough with your bare hands. You knead endlessly until one day you strike gold. By then you would have figured out bread hacks that work for the climate you’re in and you can knock out a loaf within a few hours.
At the beginning I took more than 30 hours to make a loaf, as I was following an archaic bread technique; going from seed culture, to biga, to barm, to starter to dough. While I achieved a wonderful deep sourdough flavor, it didn’t result in a loaf I could enjoy daily.
After much trial and error, periods of self-doubt and desperate prostration to the baking gods, here’s the recipe that blossomed into decent-tasting sourdough loaves:
Seed Culture Recipe
- Day 1 – 1 cup rye flour and 1/2 cup unsweetened pineapple juice
- Day 2 – 1/2 cup bread flour and 1/4 cup unsweetened pineapple juice
- Day 3 – 1 cup bread flour and 1/2 cup water
- Day 4 – 1 cup bread flour and 1/2 cup water
Start by mixing the rye flour with the unsweetened pineapple juice, covering with cling film and leaving for 24 hours. The next day, add Day 2’s ingredients, mix well so that the flours are well hydrated and once again cover and leave for 24 hours. On Day 3, discard half the starter and mix in the new ingredients, cover and leave for 24 hours. On Day 4 – more of the same, discard half and wait for it to double in size which could take as little as four or as many as 24 hours. Now it’s onto the barm.
Barm Recipe
- 3 1/2 cups flour
- 2 cups water
- 1 cup seed culture
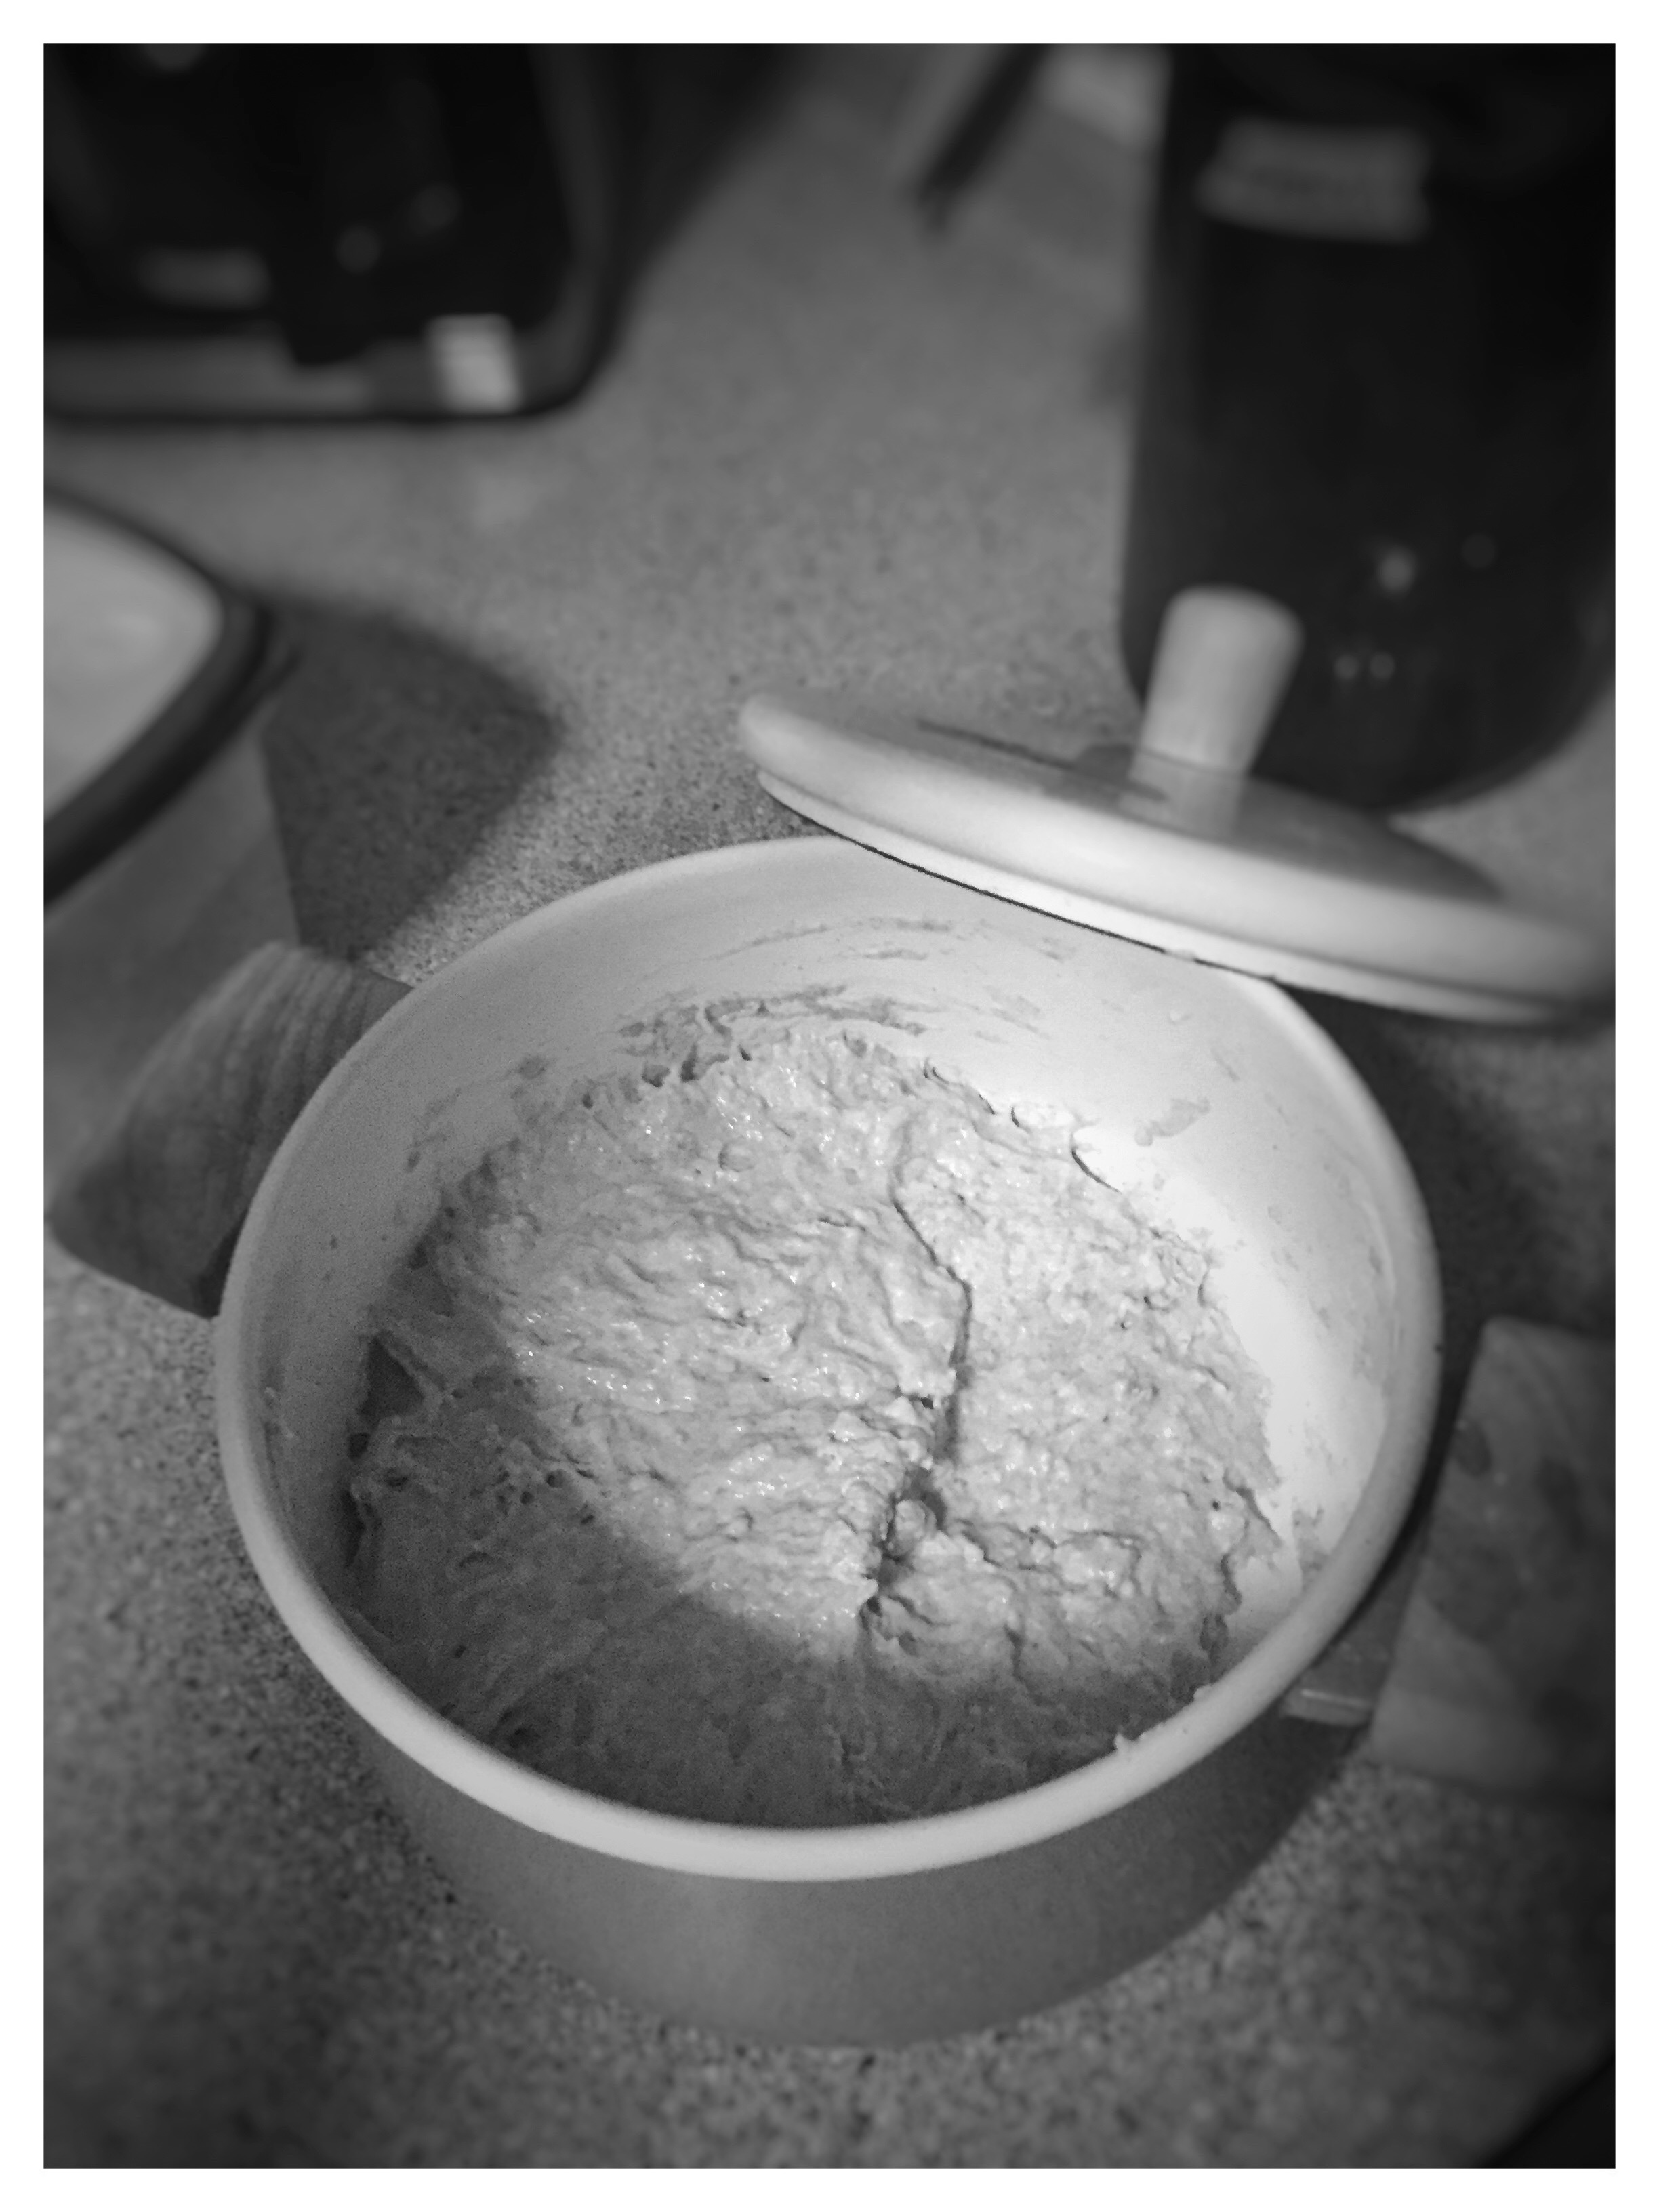
Mix all together until flour is well hydrated; it will make a wet sticky sponge-like dough. Ferment the dough in a glass, plastic or ceramic container until it doubles in size. Cover and ferment for six more hours or until it is bubbly and aerated. It should look like the remnants of a bubbling witches’ cauldron that had been left out after a wild night of spell crafting. Now you can refrigerate it.
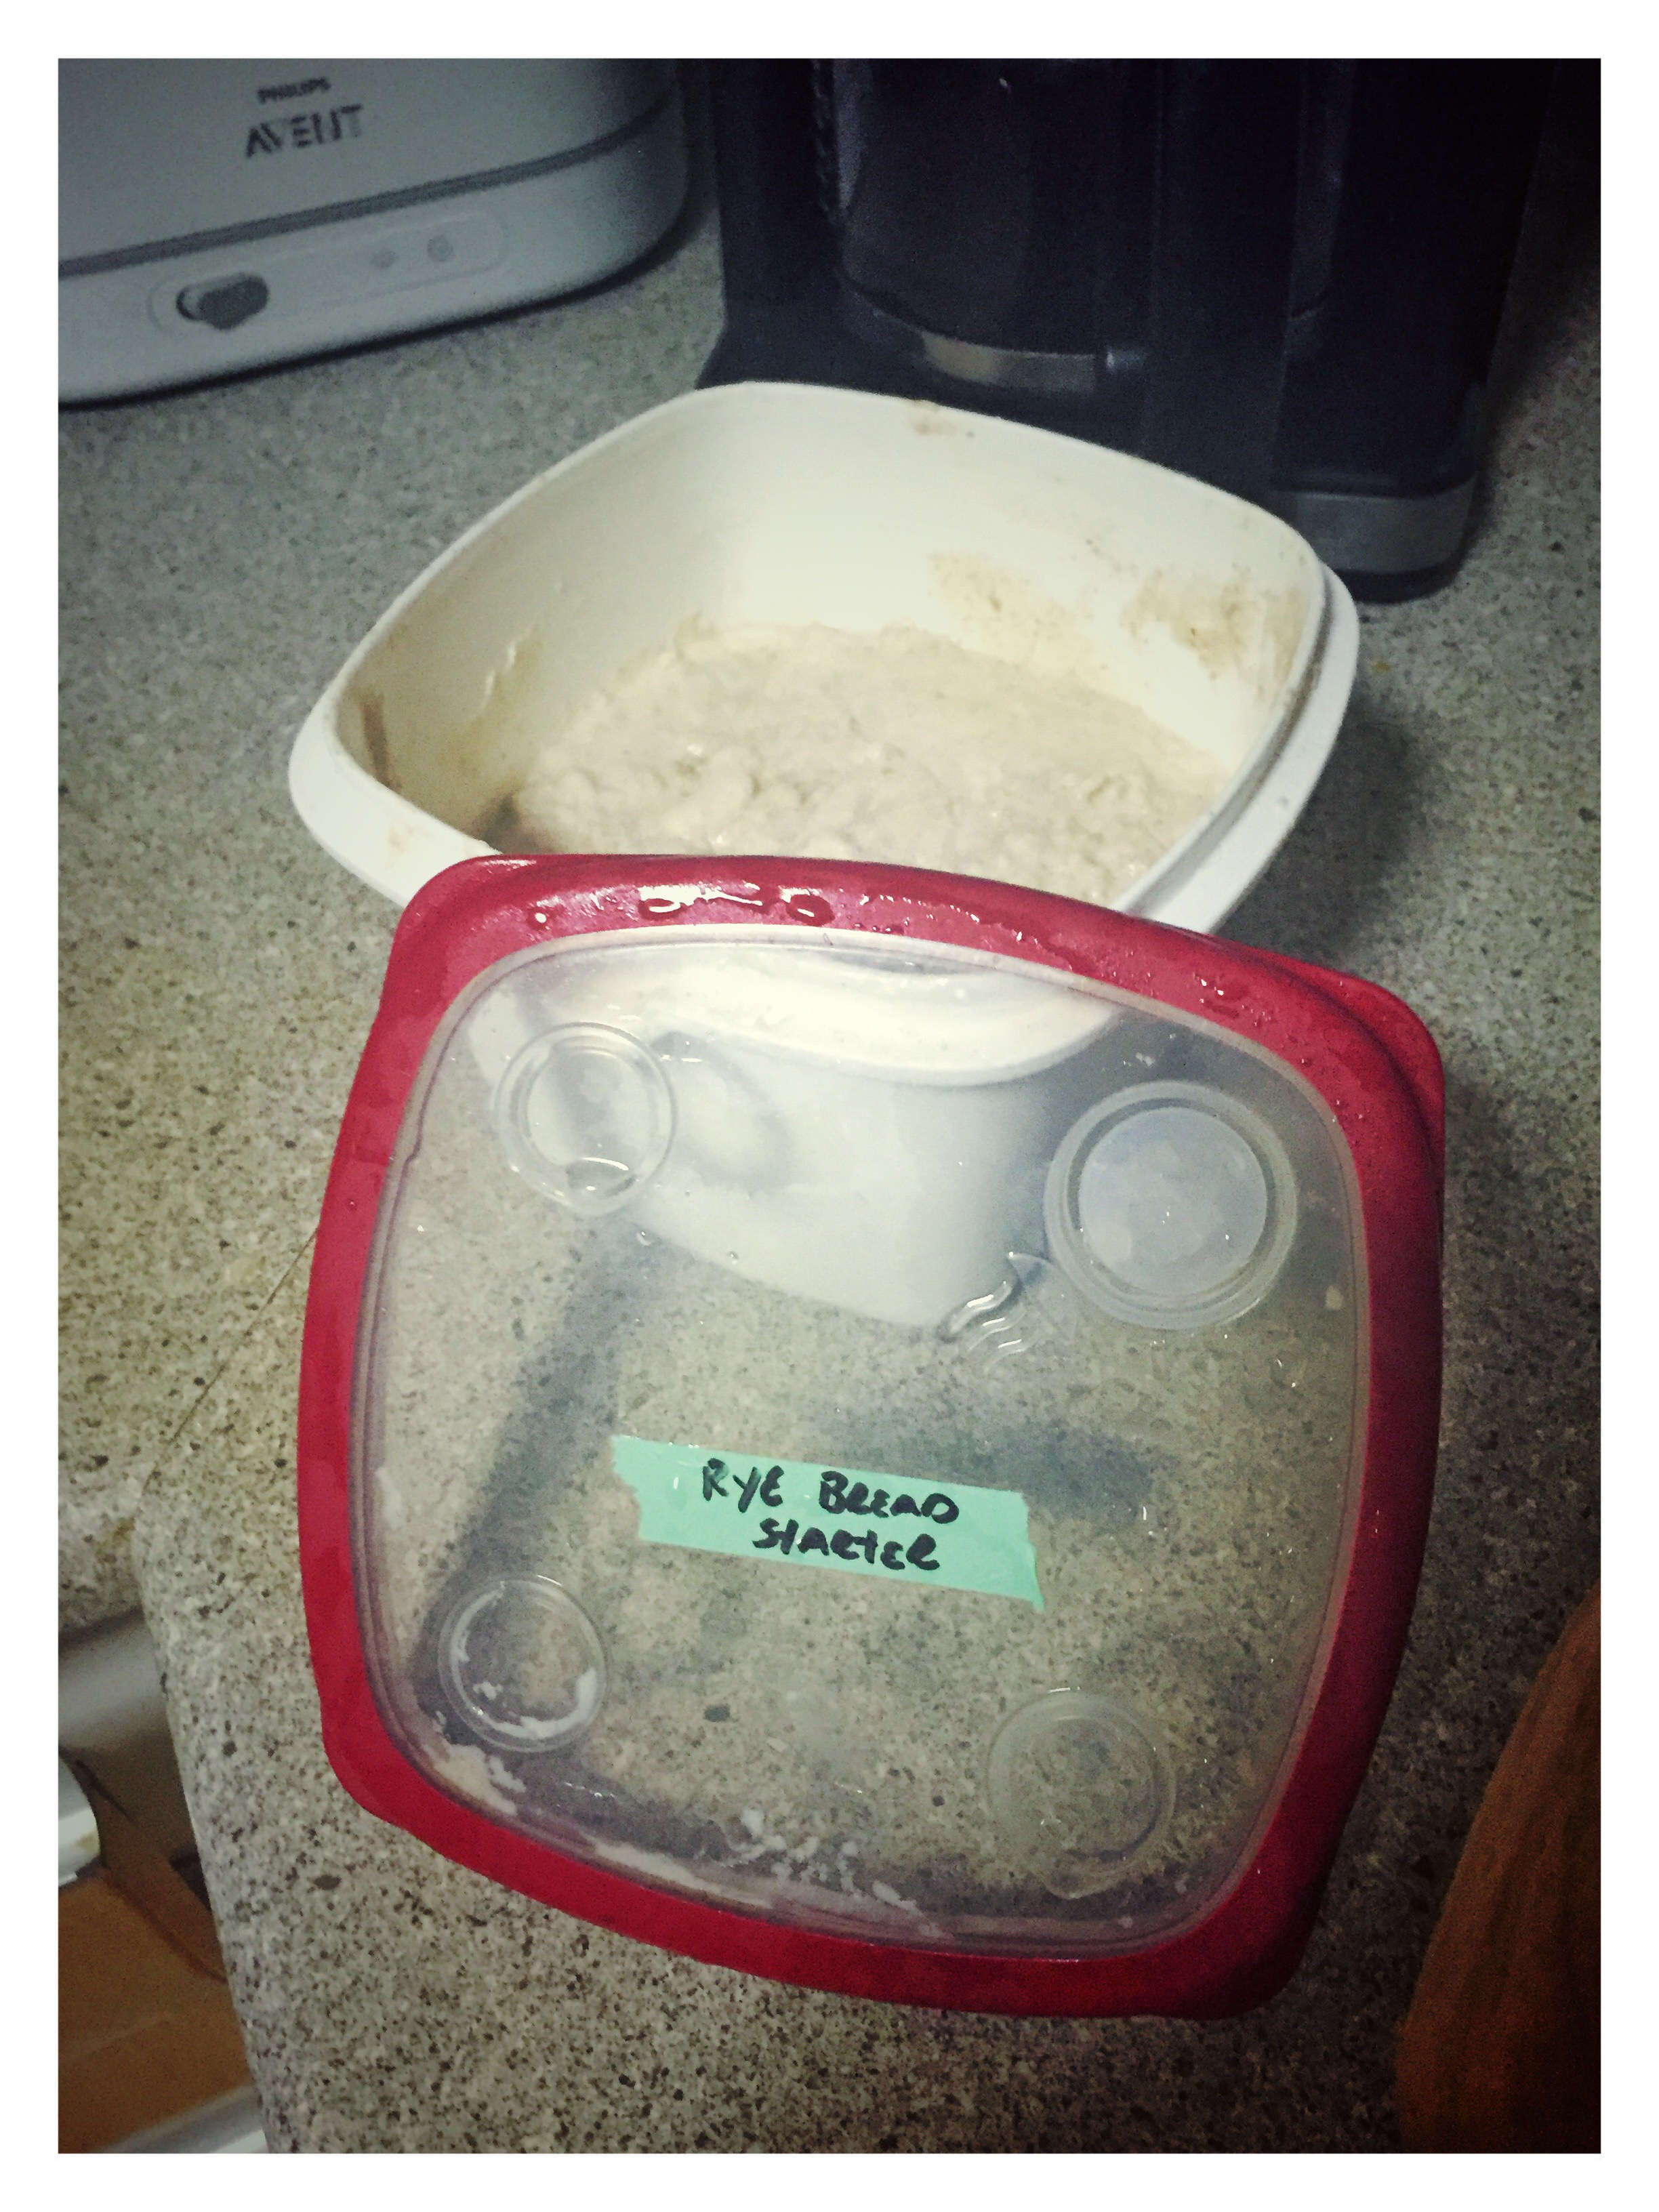 The barm will become the “mother” for all your future sourdough breads. With a little care and feeding, it should stay potent and yield glorious sourdough loaves for years to come. Occasional feeding involves a cup of bread flour , some more water and storage in your refrigerator. Each time you remove a cup for your starter, simply feed your barm and leave it to ferment alongside your starter in the refrigerator. My barm will be turning a four years old next month and as it has matured, so has the quality and sophistication of my bread.
Now let’s get on to the starter.
Starter
- 1 cup barm
- 1 cups flour
- 1/4 cup water
Remove barm from refrigerator 1 hour before producing the starter to remove the chill. Mix all ingredients together until just hydrated, cover and leave to ferment for four hours. After this you can place in the refrigerator overnight to achieve a more sour and rounded flavor. Or you can go directly to the final dough.
Final Dough
- 3 1/2 cups bread flour (Swap out one cup bread flour for whole-wheat flour for a whole-wheat sourdough)
- 2 tsp sea salt (crushed)
- 1/2 – 1 cup water
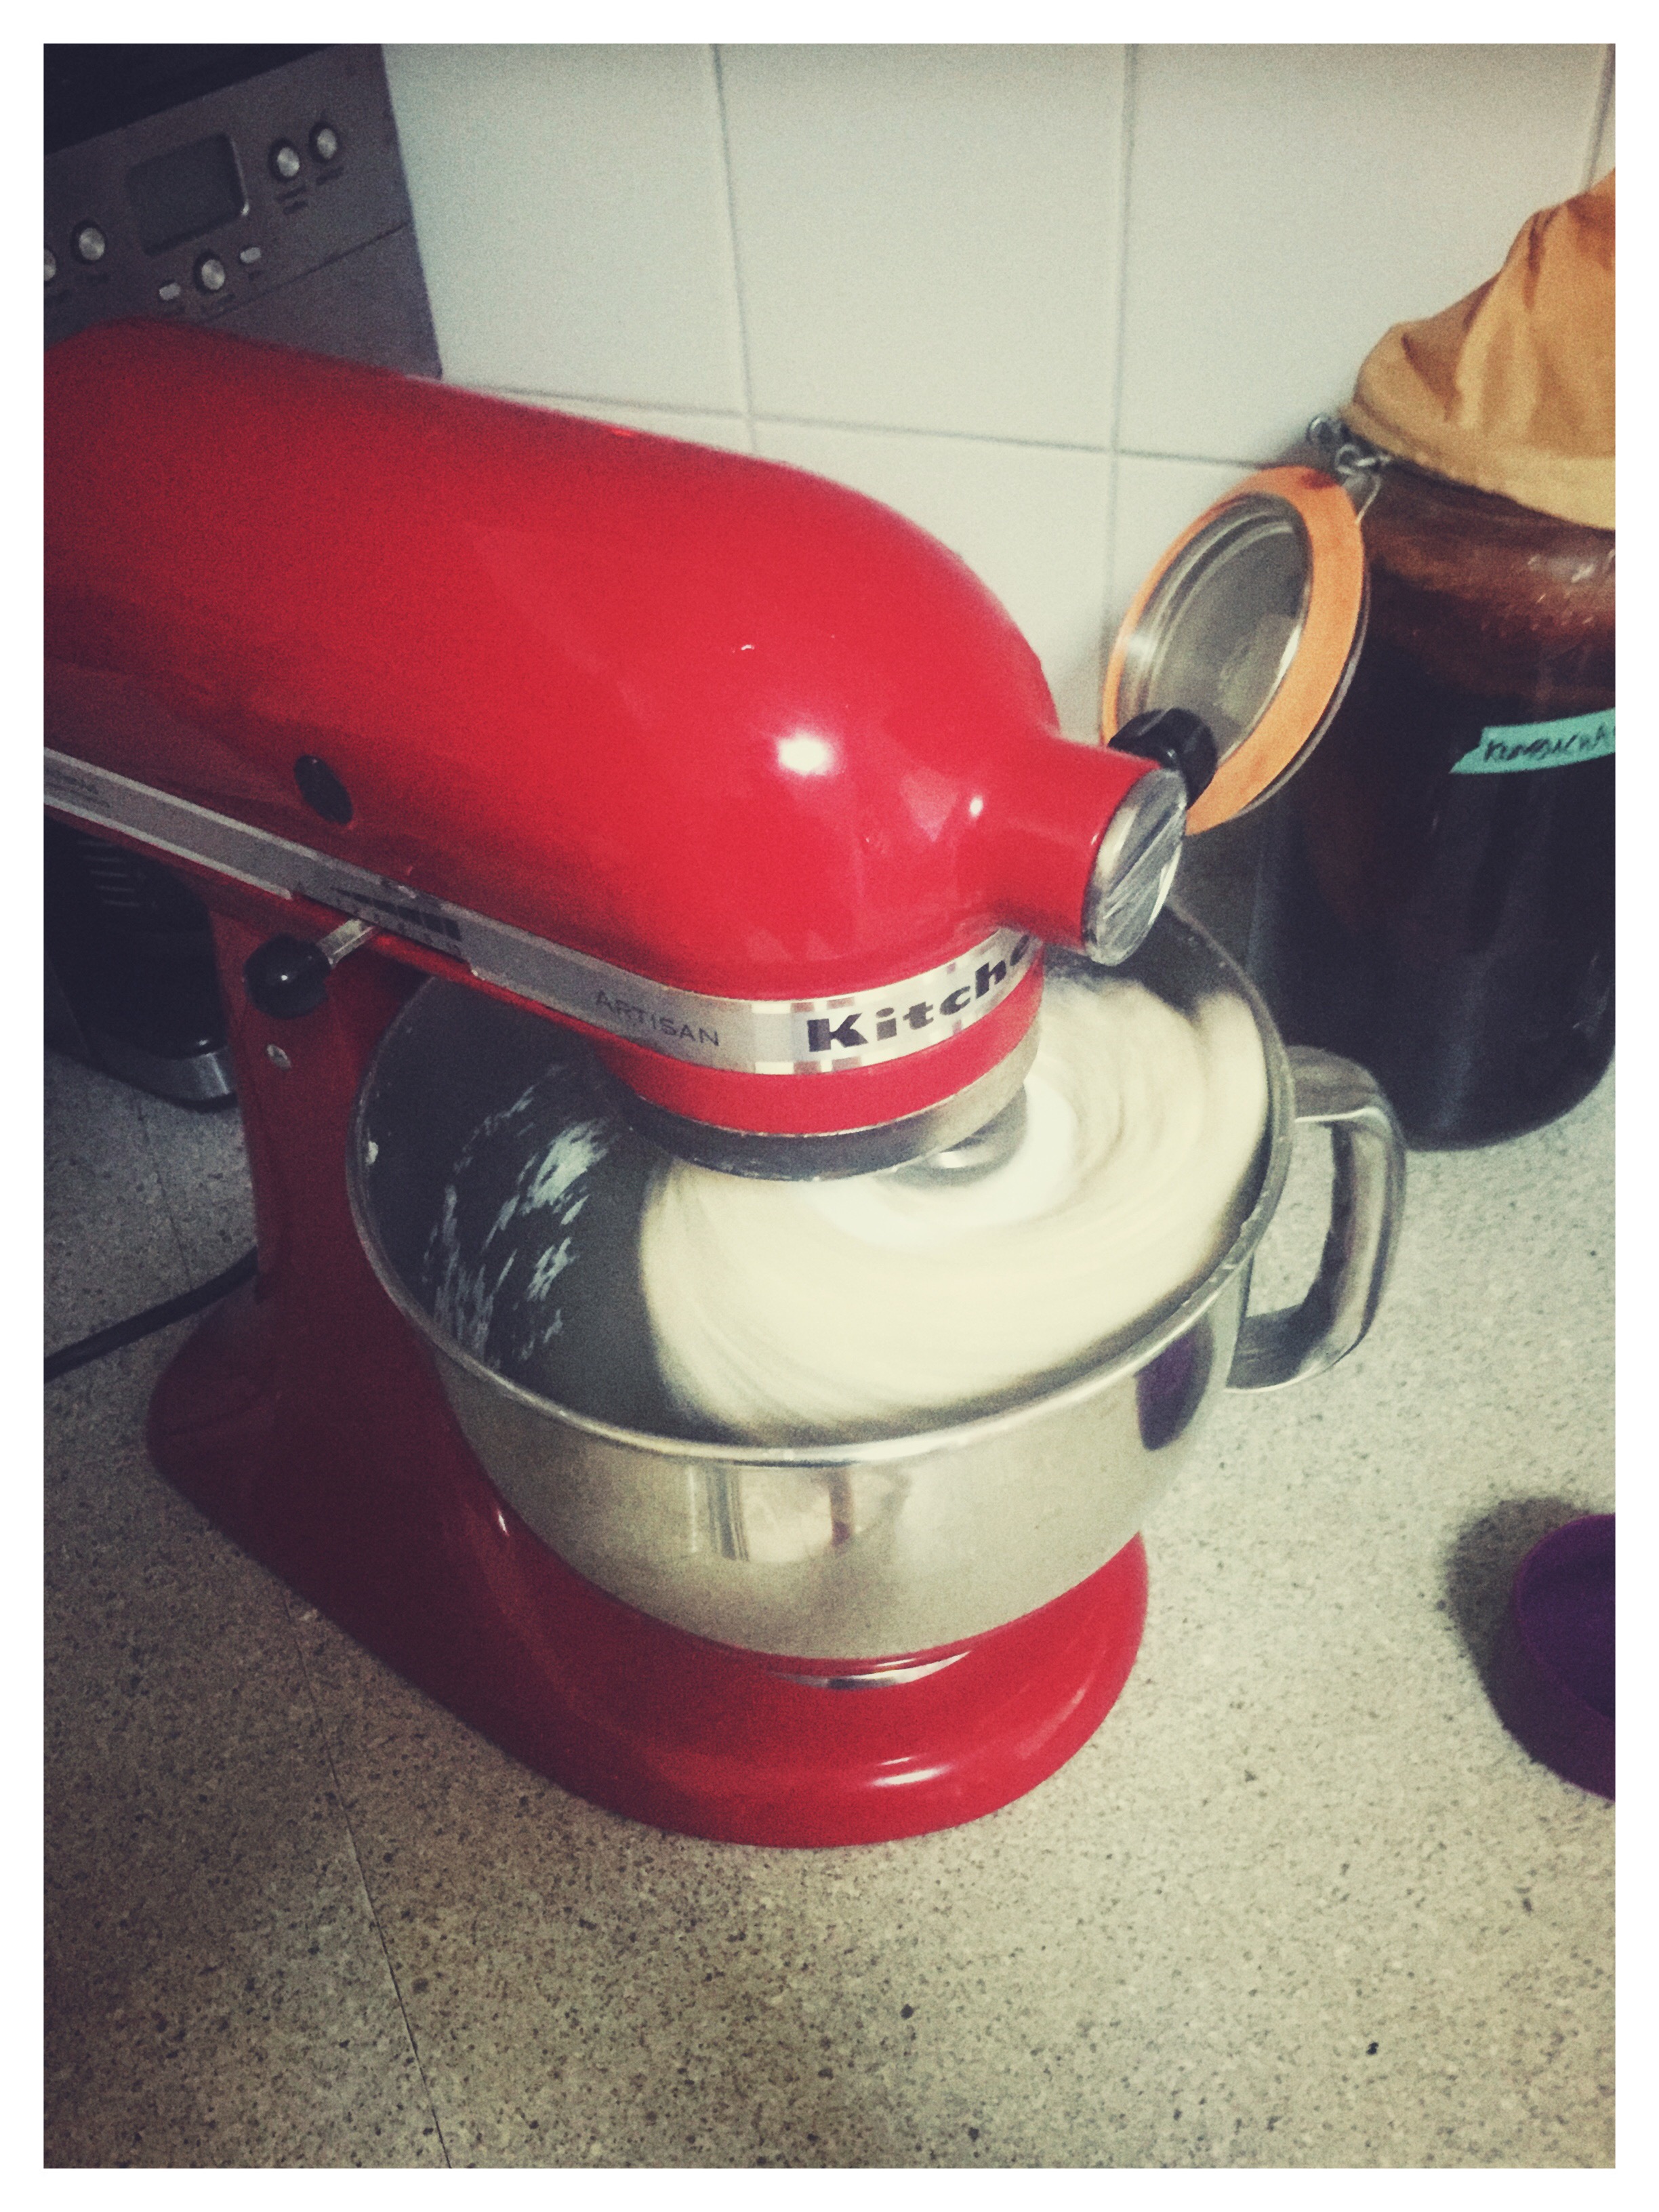
Place the flour, starter and salt into the mixer and process on low, adding the water slowly to bring the dough together. Mix on medium low for 4 minutes, rest dough 5 minutes then mix for another 4 minutes.
If you are kneading by hand then knead 8 minutes on a lightly floured surface, give it 5 minutes rest and then knead another 4 minutes. 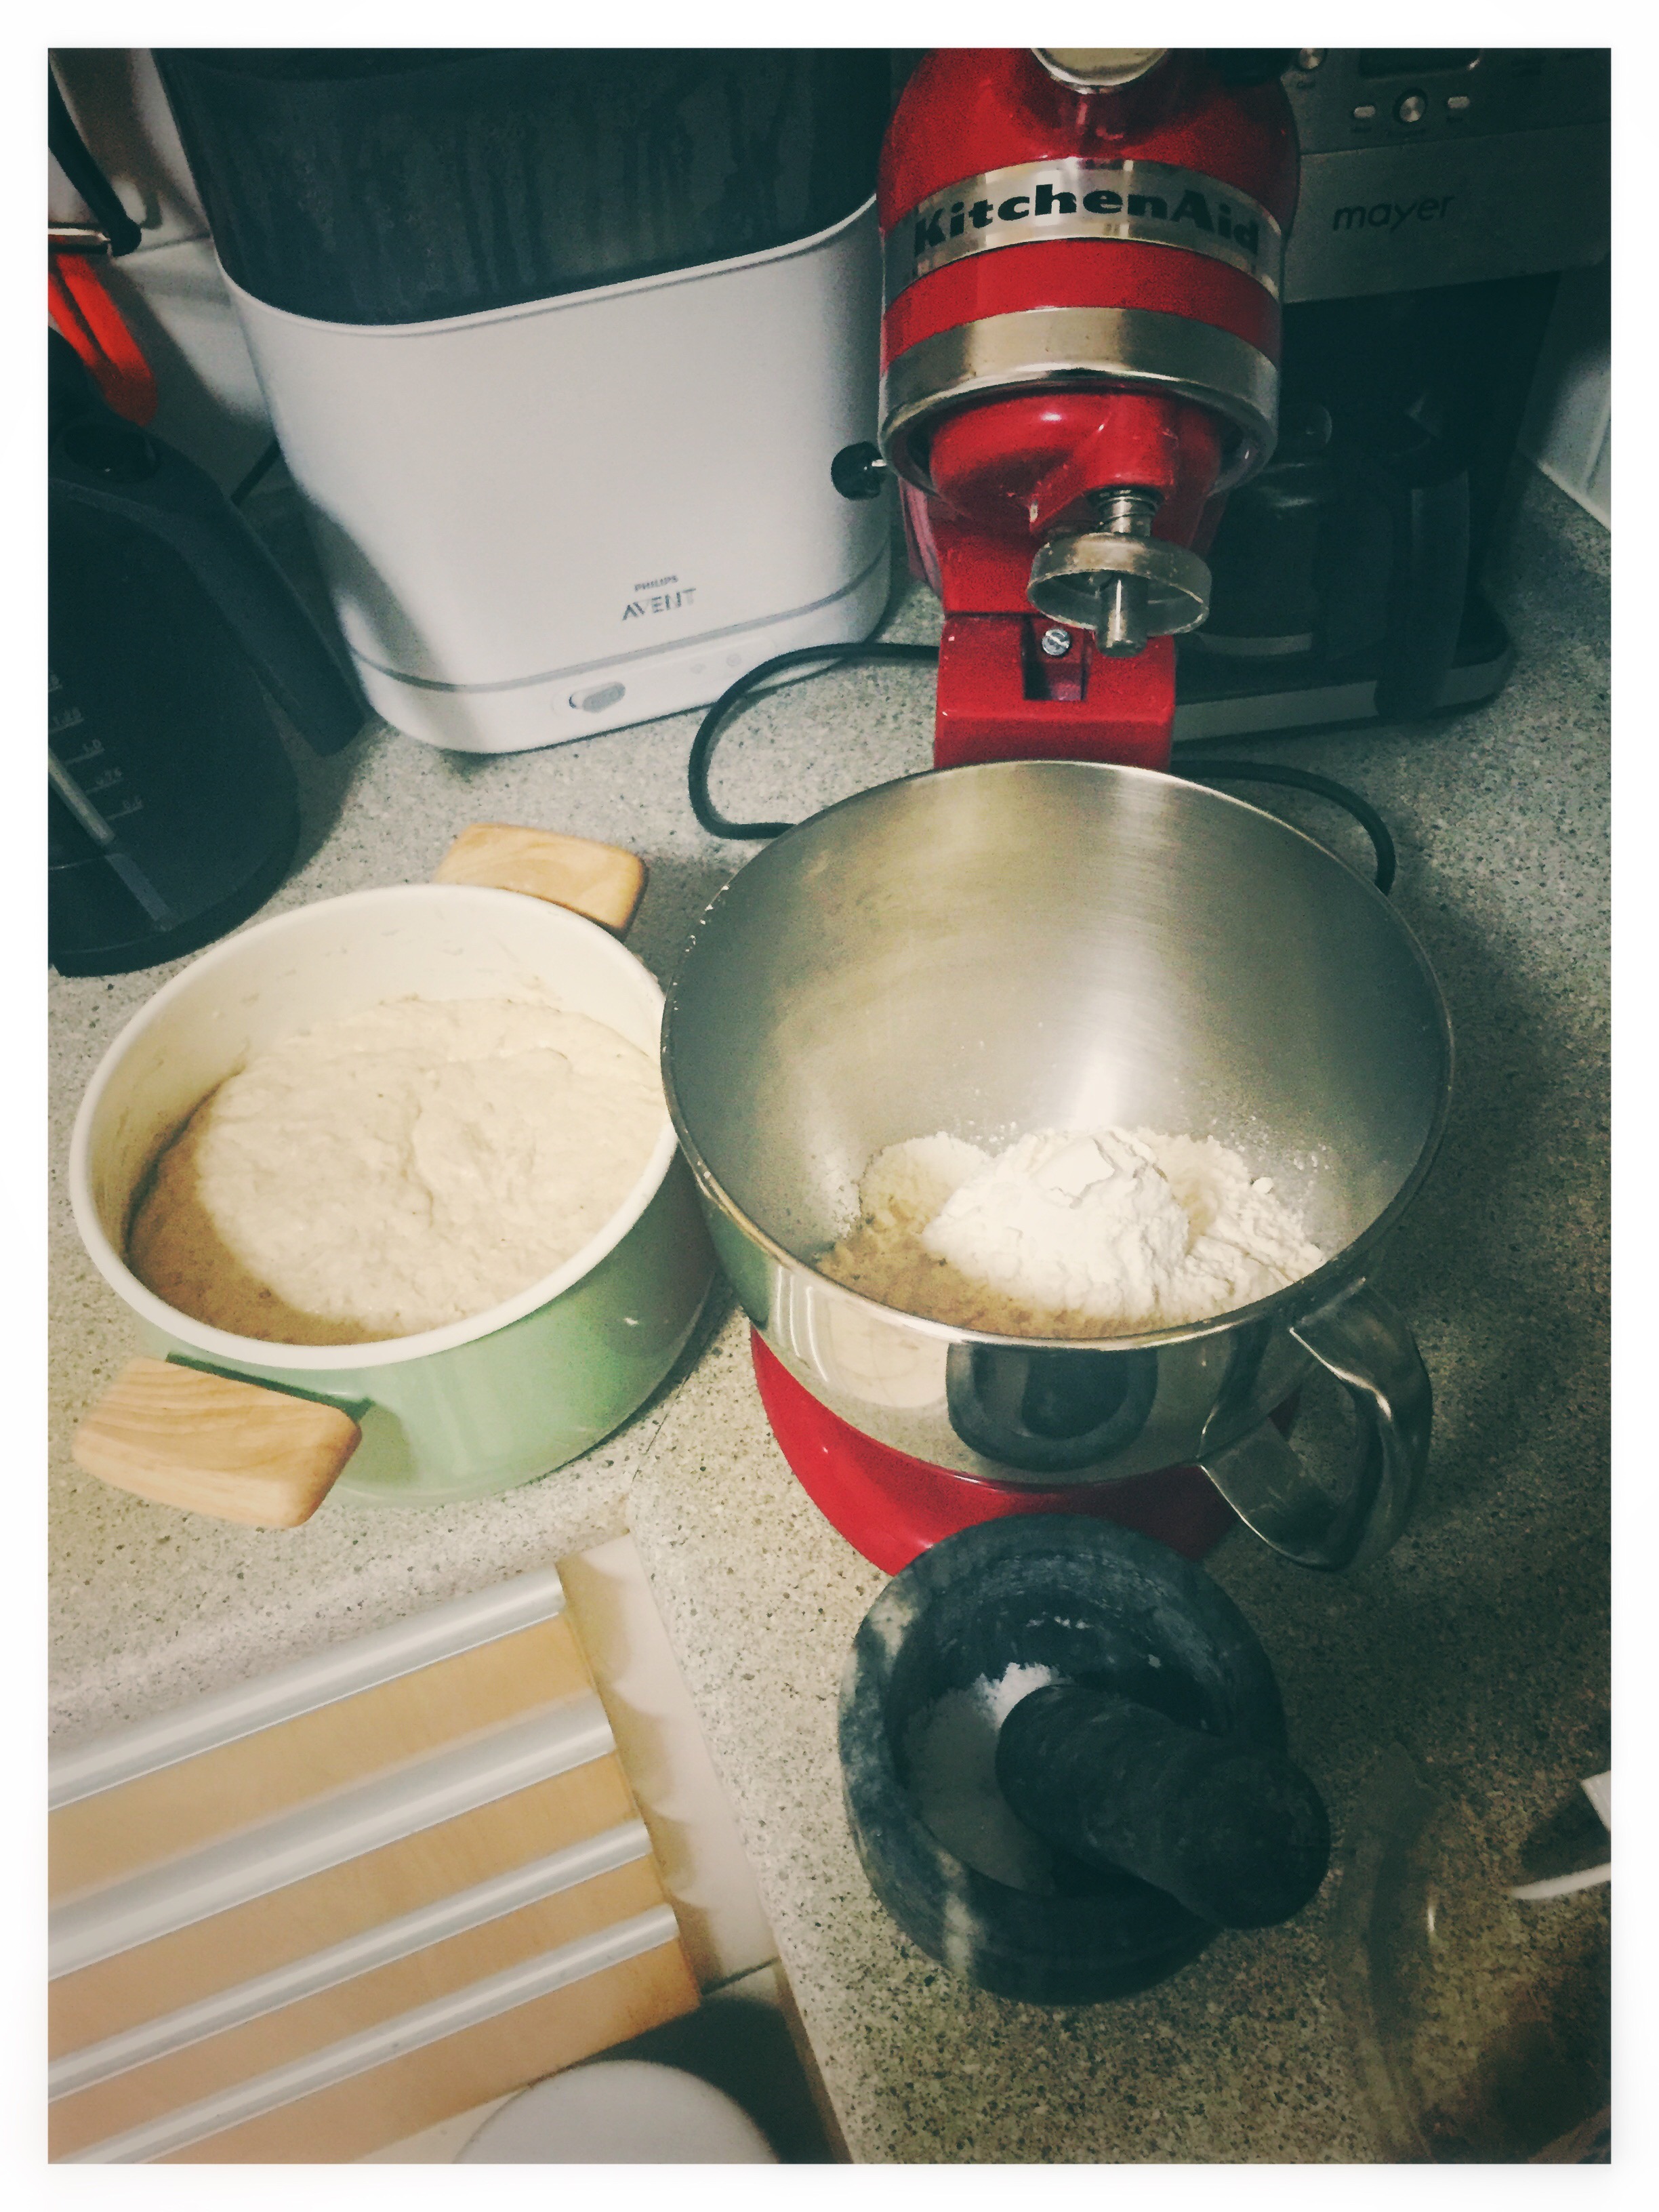
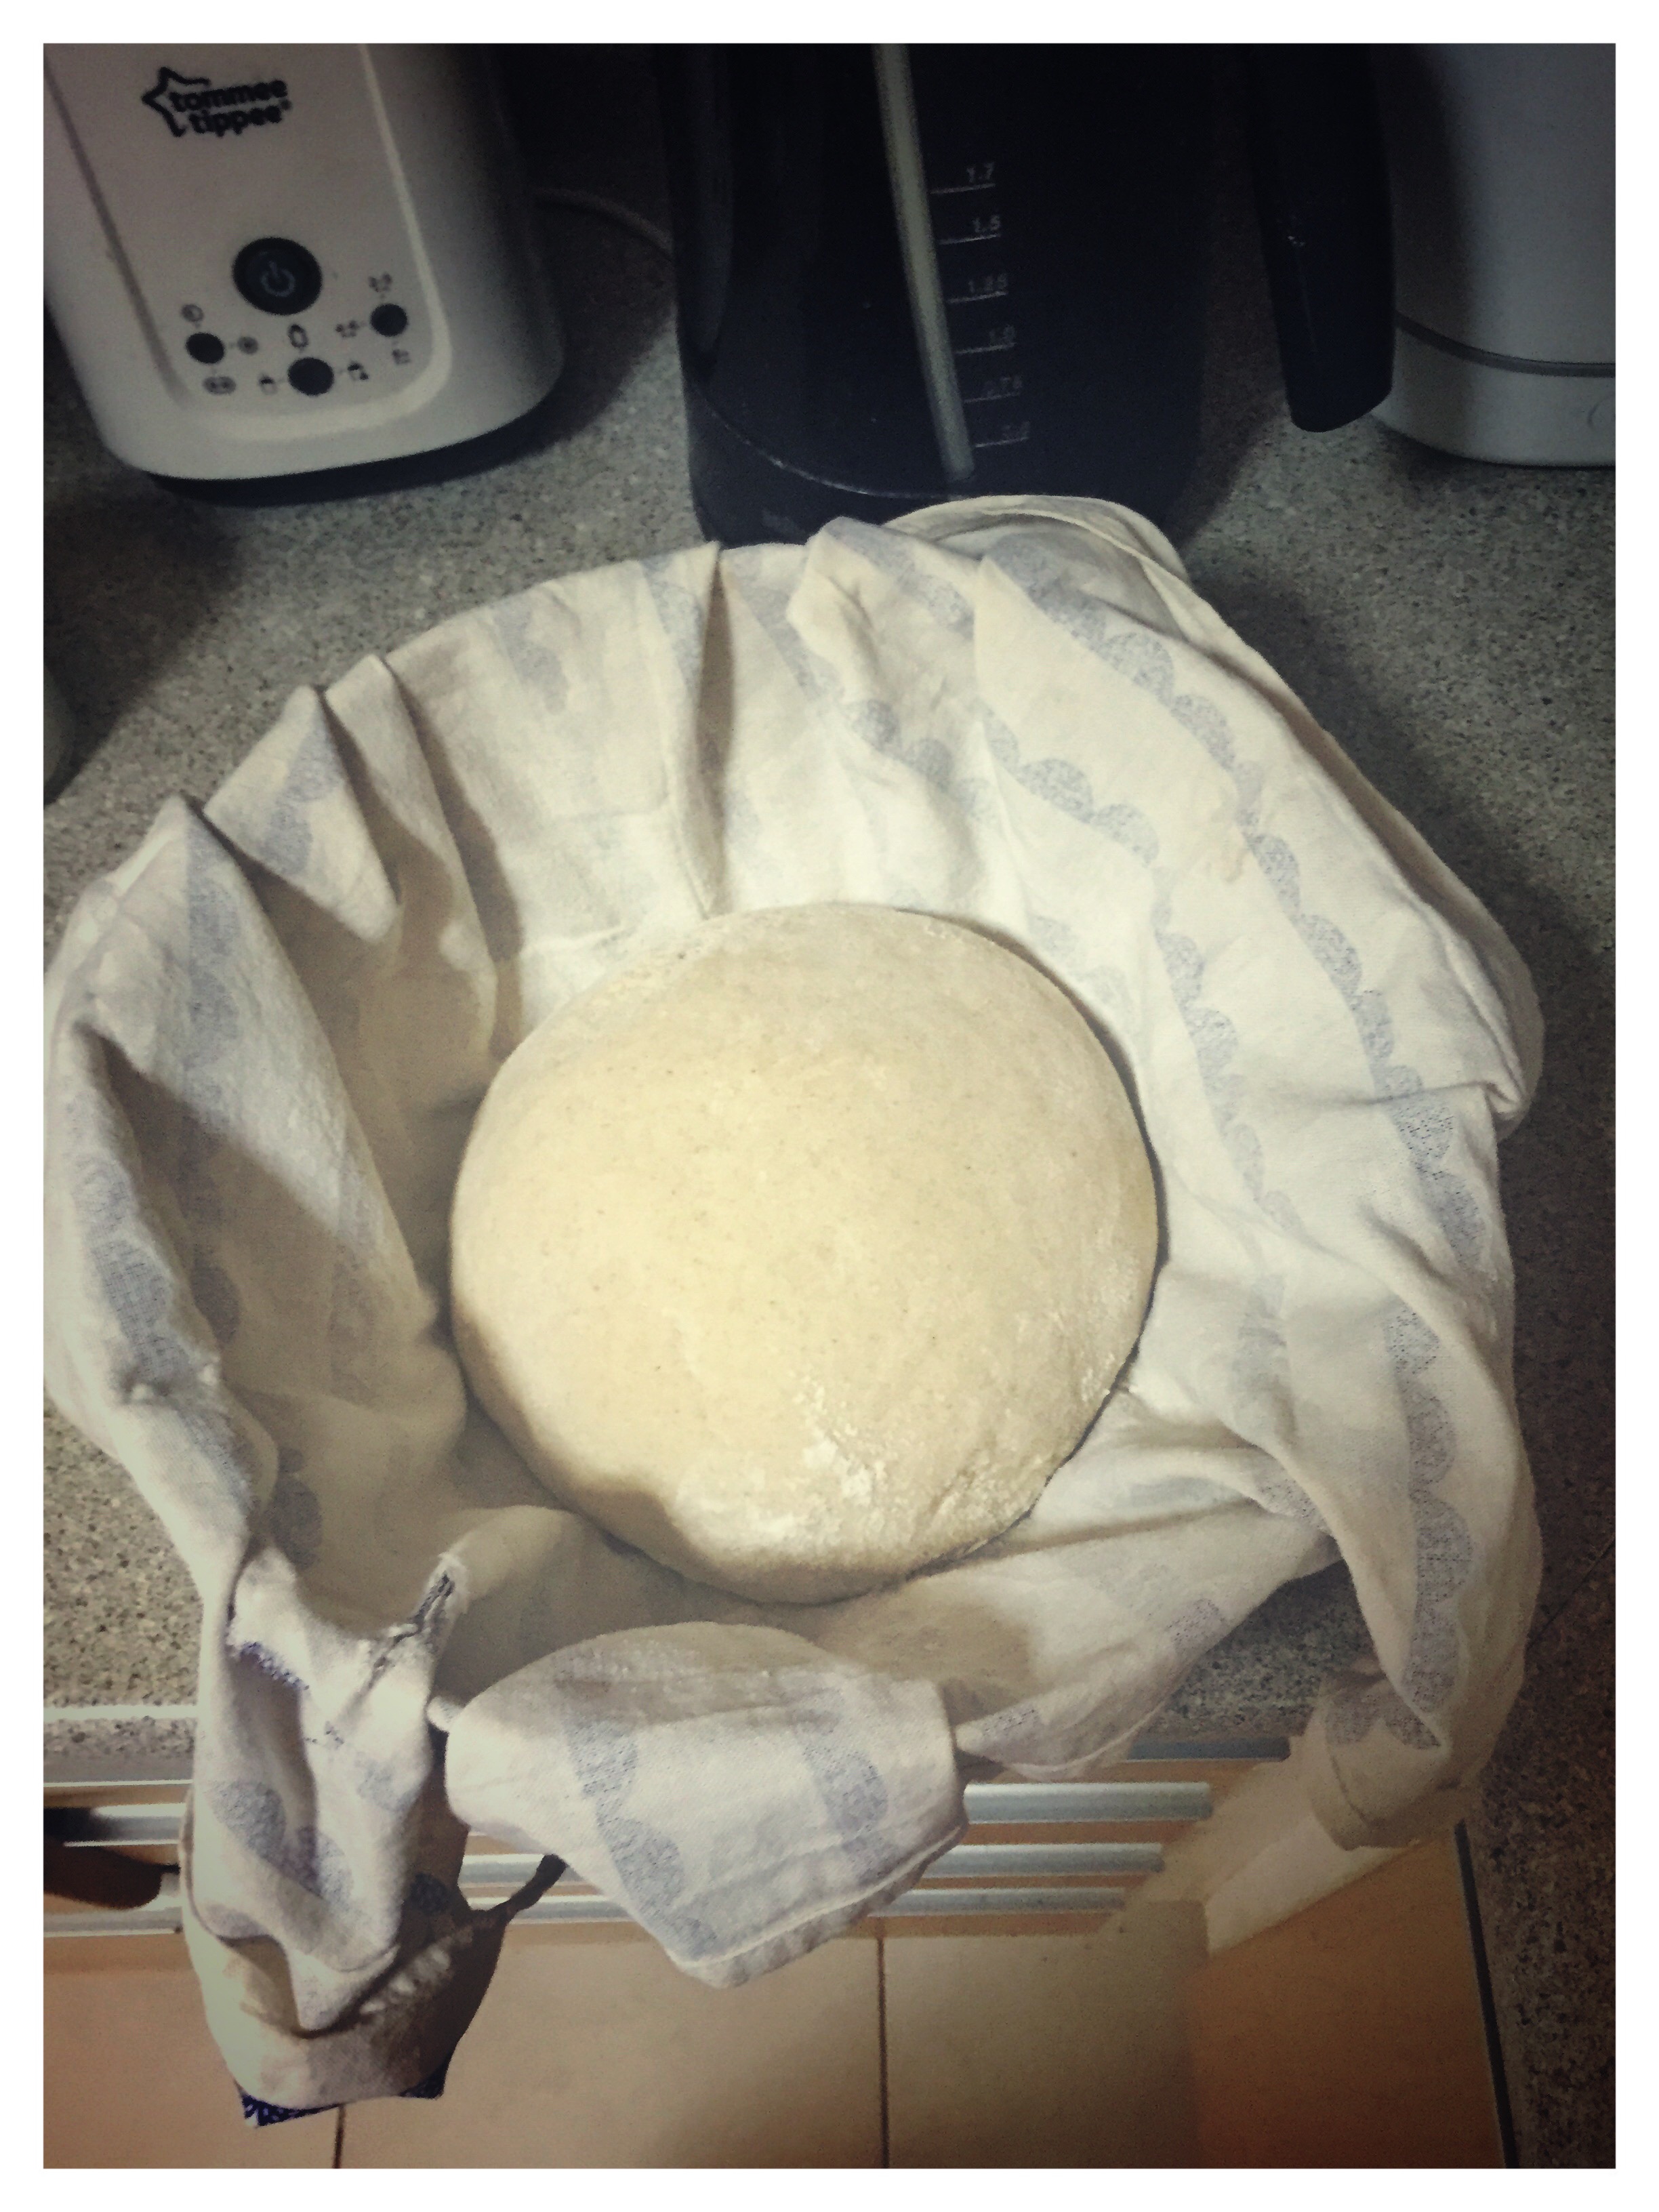
 Dust a bowl with flour, remove dough from mixing bowl and form into a ball. Place dough inside bowl and cover with a tea cloth, letting it ferment until it doubles in size – somewhere between 1 1/2 to 4 hours.
From here you can separate the dough into two and form into your prefered style ie: baguette, loaf , boule etc.
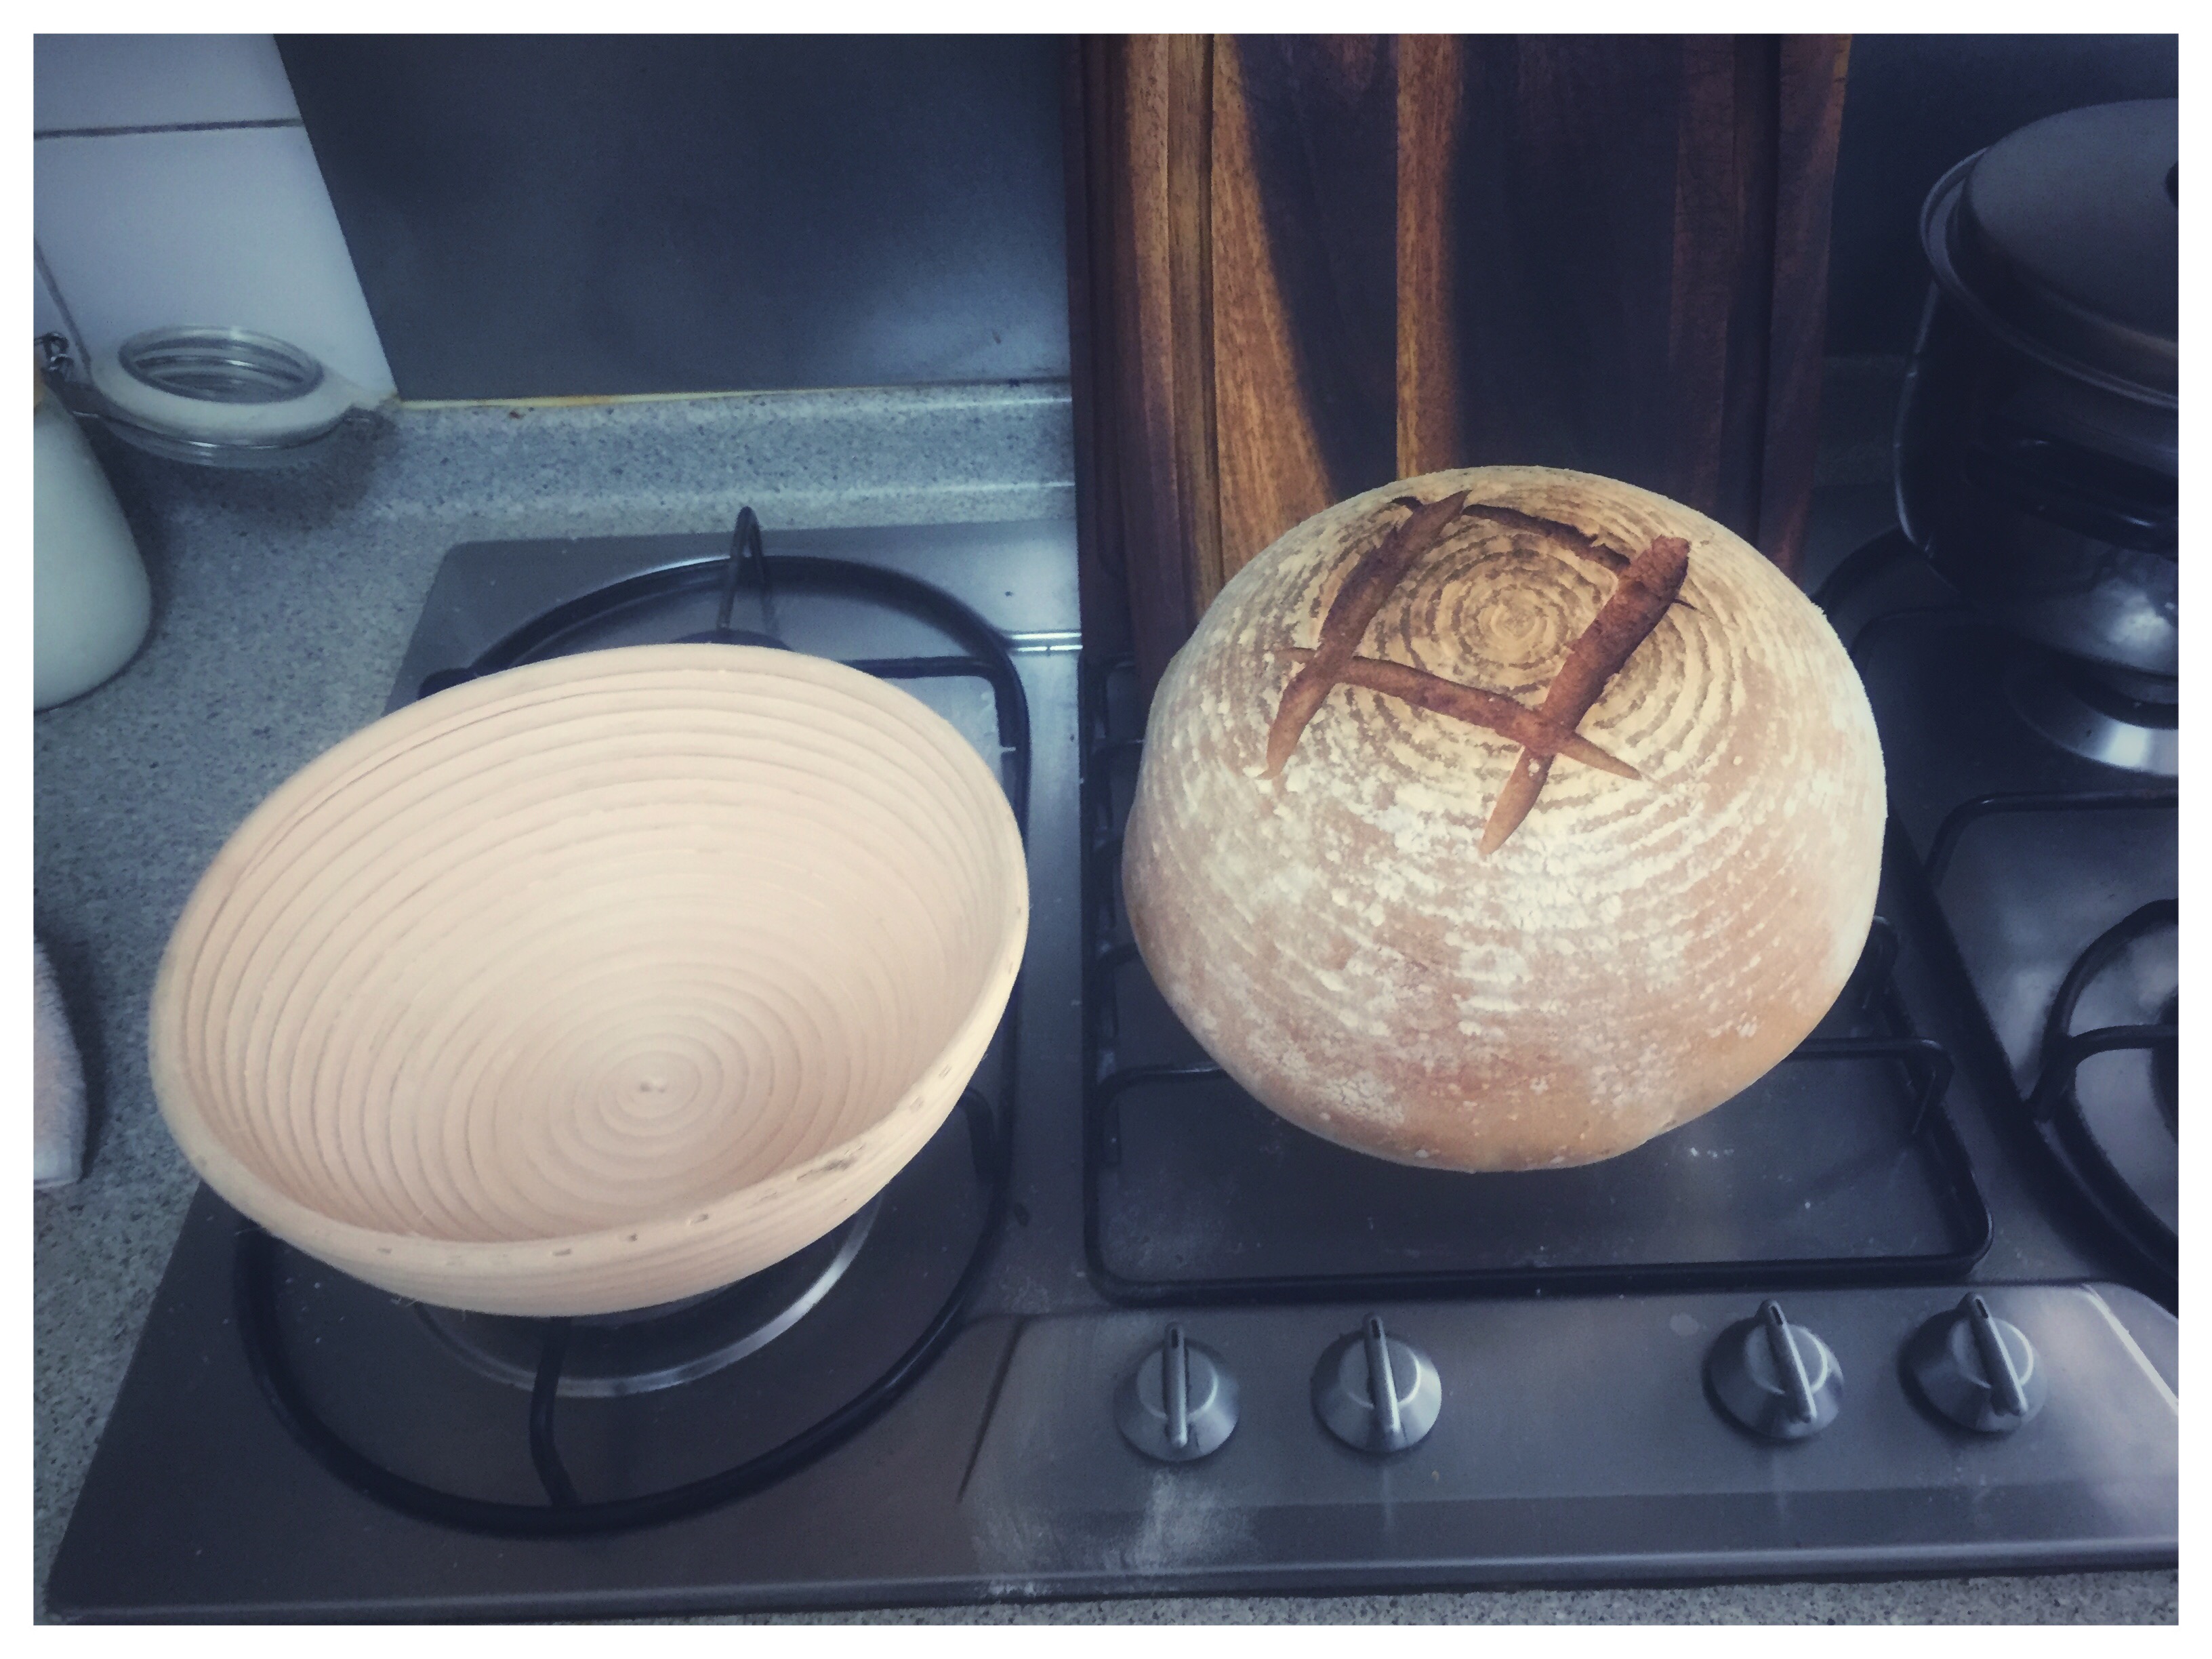
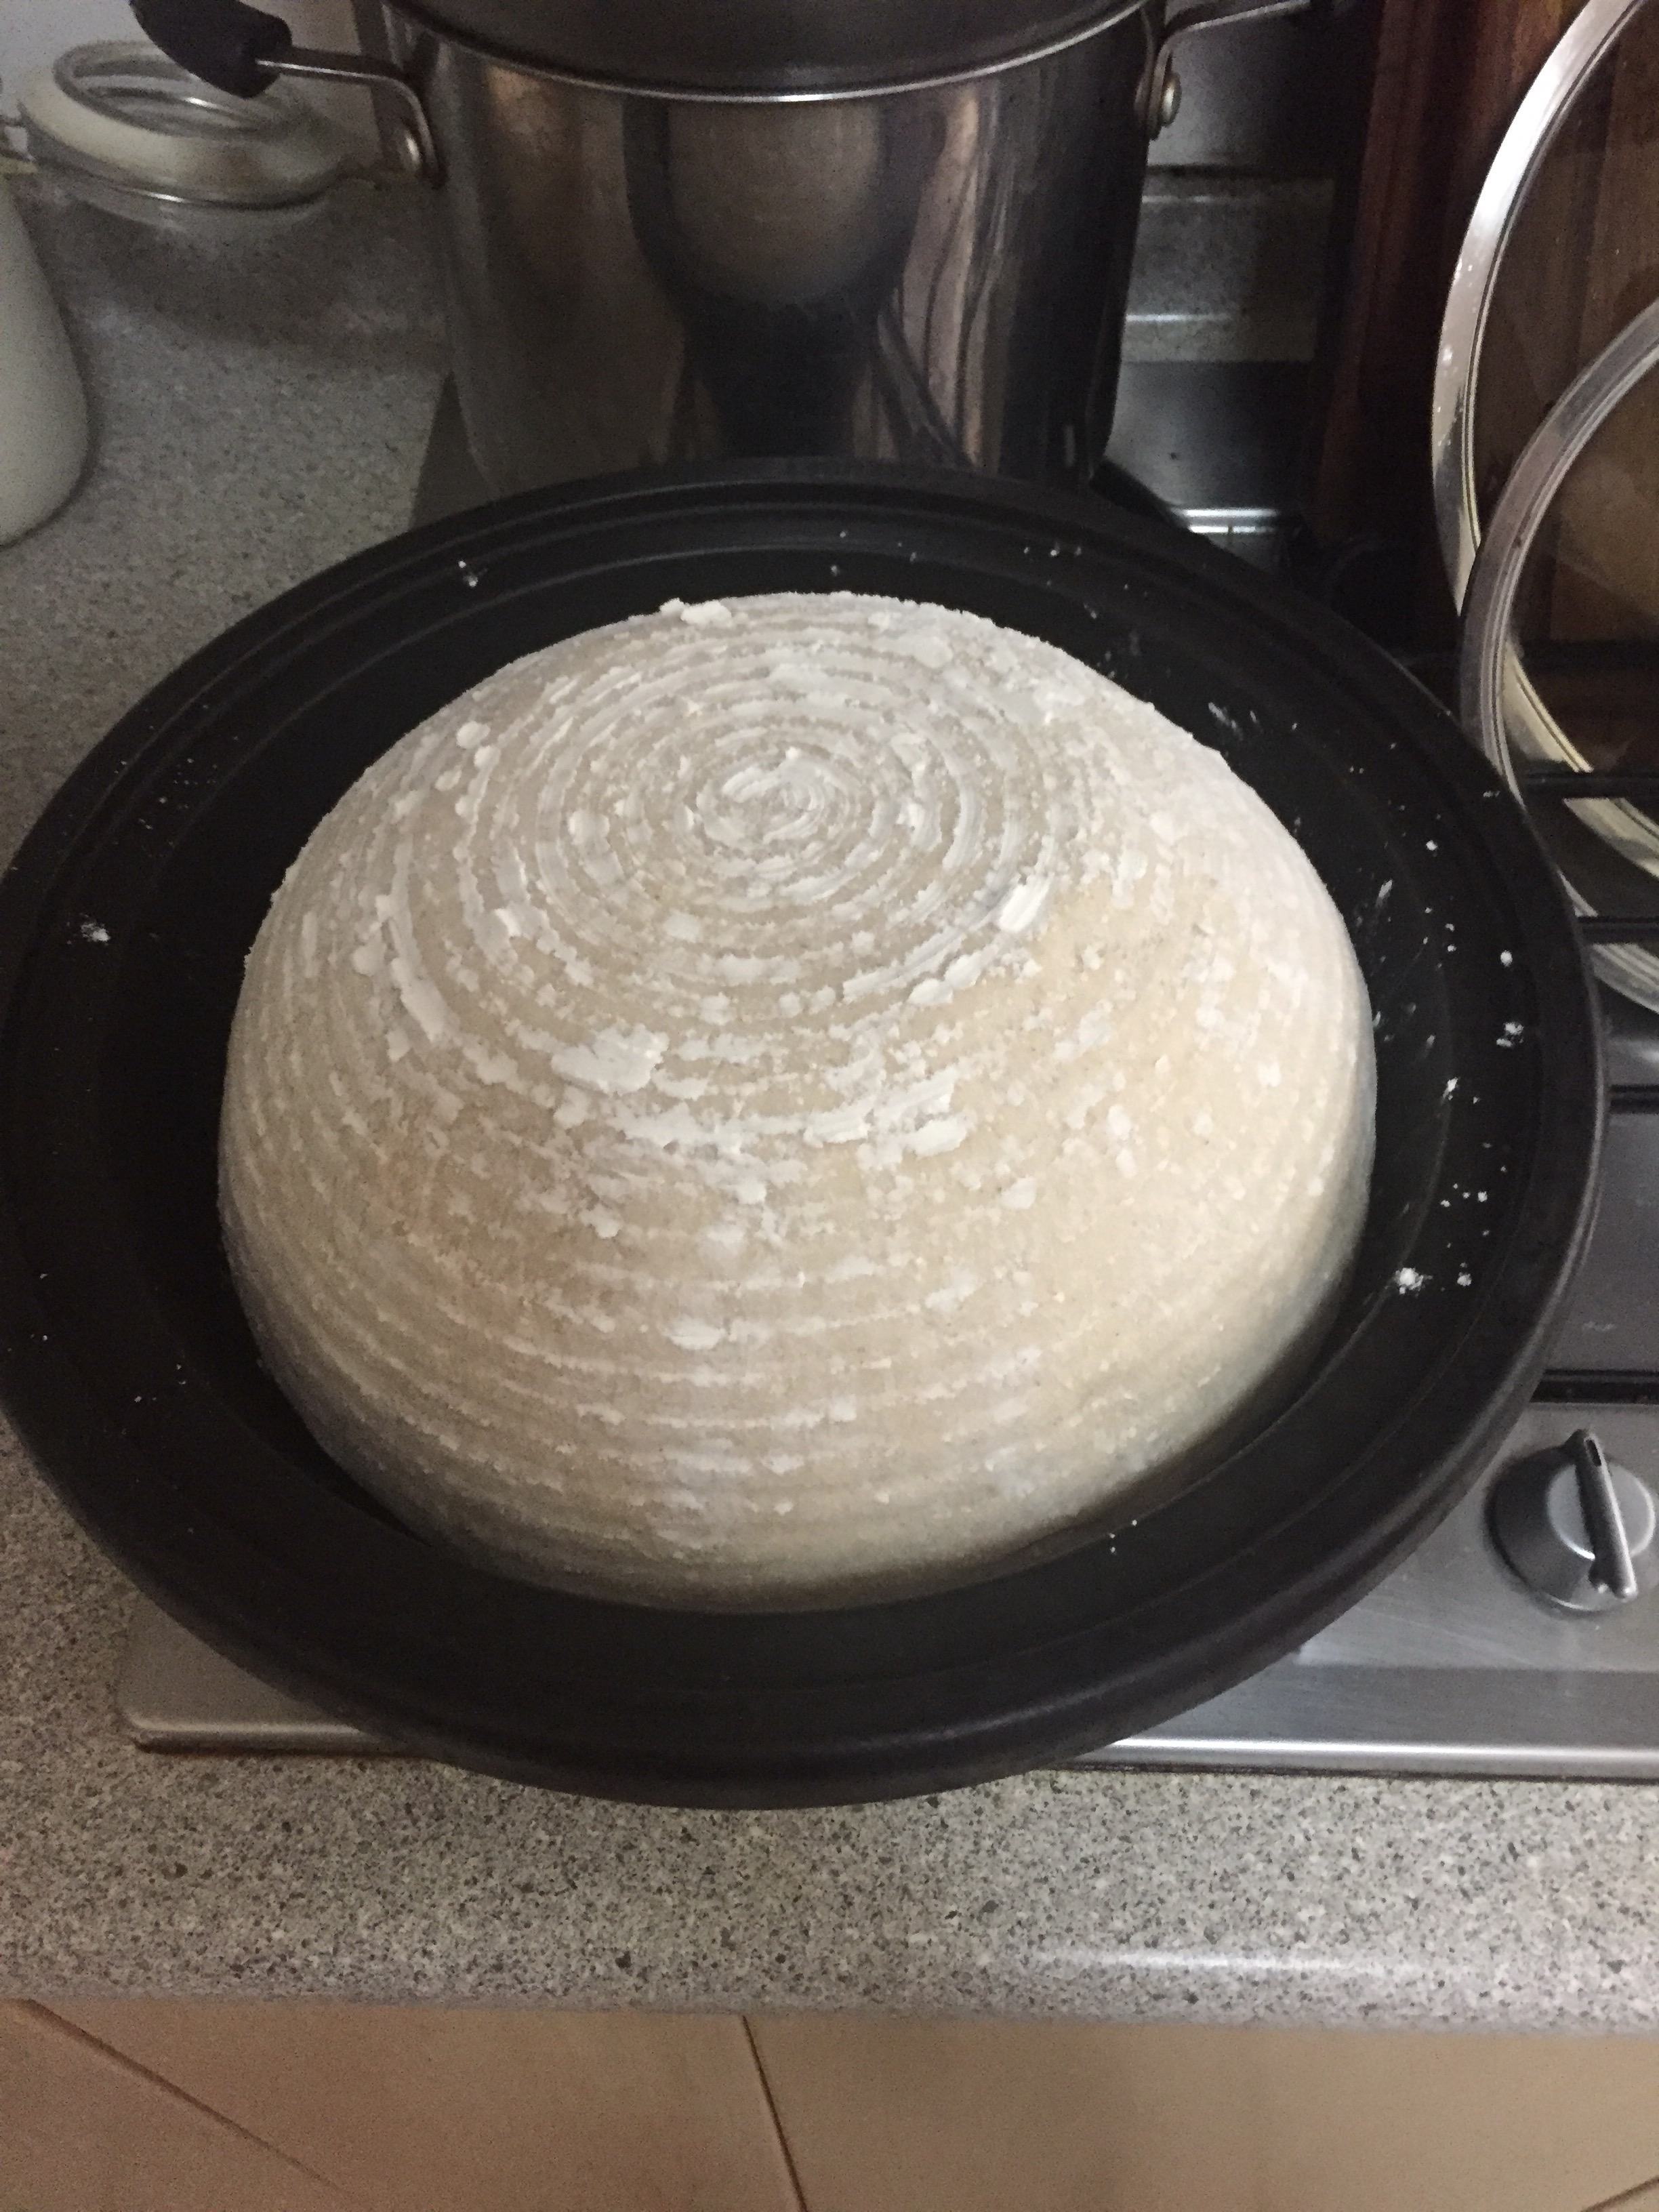
I use bannetons to proof my boules but this is just a personal preference. I have found that if you plan on making boule, it is best to degas the dough as little as possible. When making a baguette or loaf feel free to degas as shaping these require more dough work due to its shape.
Preheat an oven to 250°C, turn out your dough onto your baking stone (I use a cast iron Dutch oven that I preheat in the oven for 25 mins at 250°C). Score the top of the dough (I prefer a centre windowpane) with a sharp knife or razor blade to let the gas escape as it bakes. Reduce oven temperature to 220°C, spray down the interior with water and place a dish of water beside your dough and let it bake for 35 minutes.
Once done, remove the loaf from the oven and turn out onto a wire rack, leaving it to cool completely for one (preferably two) hour before slicing.
I bake a loaf every weekend so that we always have thick sourdough slices in the freezer (happy to report that this bread freezes well) through the week for breakfast toast or our favourite PB&Js.
Making bread this way is truly carving time for yourself. In our current world of instant gratifications – where everything is available too easily at a click of a button (think Amazon Prime), taking a step back to unplug and create something out of flour, water and salt is a magical experience in itself.